Thursday, 17 May 2012

Sneak Peeks for the Market

Well it has been way, way too long since I did a blog post.  Which is somewhat unusual for myself.  But, I assure you it has been well worth the wait.   I have been busy getting ready for the Scout Handmade & Vintage Market that is taking place next weekend in Abbotsford, BC.  May 25-26th.  I have been putting all my focus towards this new & big day.  I have been attending local Garage Sales every weekend, and have been very successful with many great Vintage Finds. (Some for myself as well)  I've been busy sanding, painting, glazing, distressing, cleaning, shining, pricing, sewing, and on and on.  So without further adue, here are some sneak peek photos to intrigue you and maybe convince you to make the trip to Abbotsford, for the day.
1 of a few old Book Bundles

Old Canning jars with Lavender Epsom Salts

Painted distressed & Glazed shelf

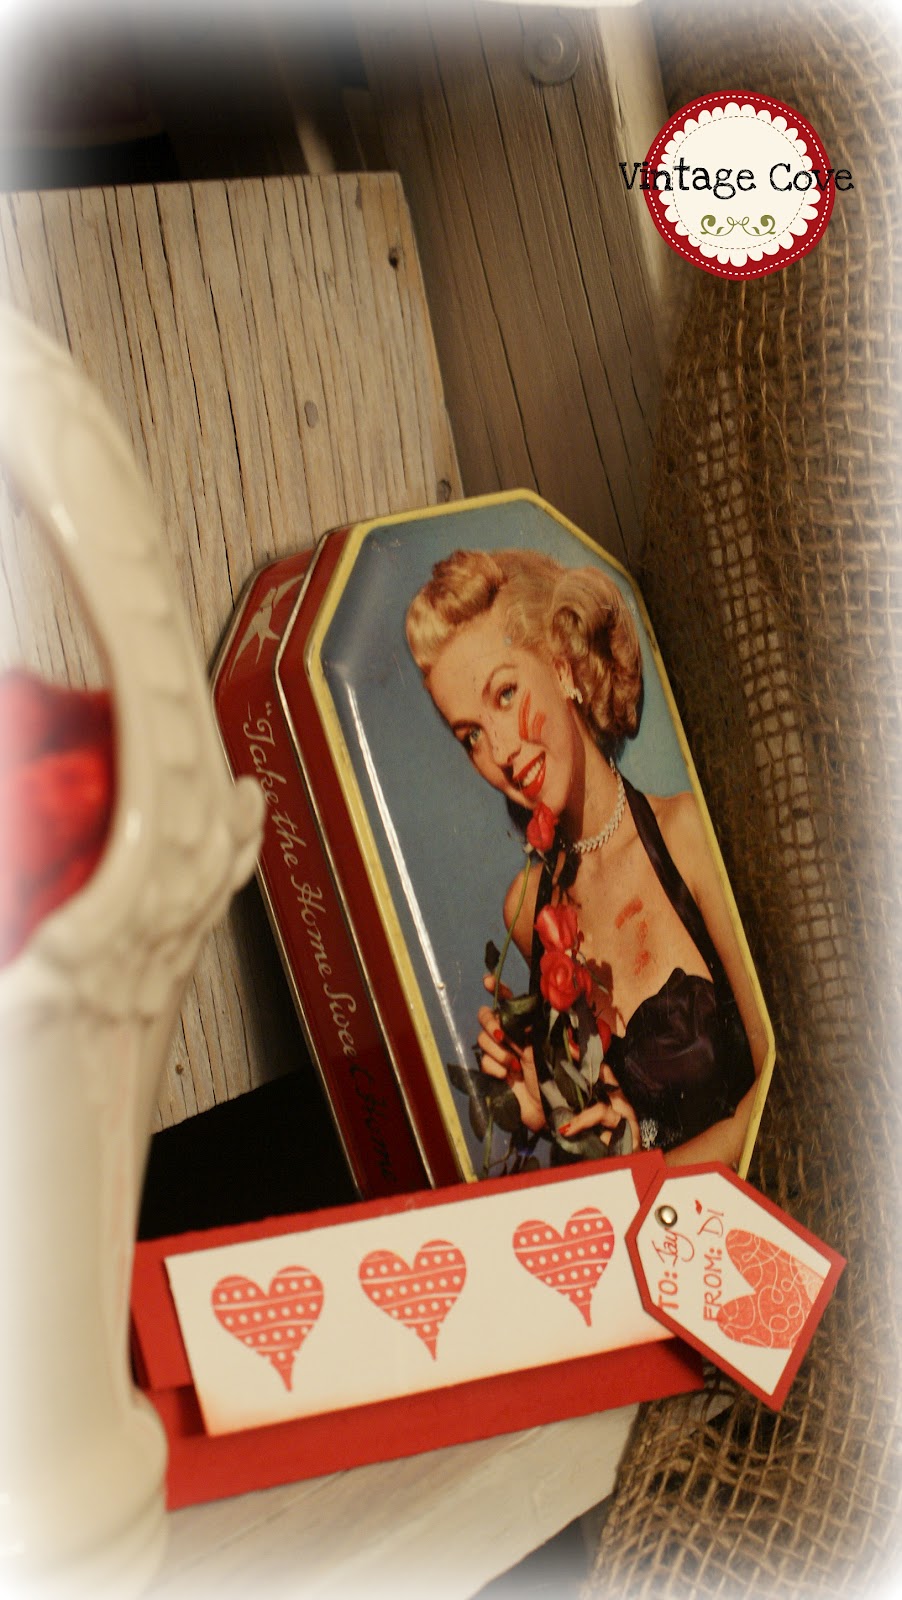
Hand Stamped & distressed Gift/Bookmark Tags

Milk Glass Vases, Creamers and Apothecary bottles

Night Stand

Decorated Old Canning Jars

Burlap Wreath with Crochet Flowers
Wooden & Glass Tea Tray

One of the Sewing Desks

Shutter, window & one of many suitcases
So there you have it!!!  Or you could, if you attend the Scout Market.  I'm still busy painting more things and making more things, and pricing more things.  But its all a secret.  What I have shown is just a small portion of what I am actually taking to the market.  So back at it for me.  Hope all the Canadians's have a great Victoria Day weekend.  You know what I'll be doing.  ;)

Tuesday, 3 April 2012

Recycle a Christmas Wreath for Easter

I had been wanting to make a Easter wreath I had seen on another Blog.  Upon trying to find the form while shopping in our local small city, I came up empty handed.  Its just as well because I was able to recycle this old Christmas wreath, simply for its metal bones.
Tired Old wreath

See the Metal form?


So I proceeded to cut the fake branches away from the metal form.  I'll put it aside for another Christmas project.  I'm sure it could be recycled in the decorations somewhere too.
Got out a roll of Burlap & Jute string, and started wrapping, weaving & making fluffy bubbly waves with the Burlap, affixing it with the Jute string here and there.

I had purchased a wooden, oval craft board from Walmart for cheap, and knew I would find a use for it at some point.  I decided to use it for this wreath project.   I needed to drill 2 holes in it so I would be able to hang it off the wreath. Using Chalkboard Spray paint, I gave a couple coats of spray to the board.  Once it was fully dry I distressed it and threaded the Jute string through the holes, and tied the ends in one knot on each side to secure it.  I didn't fasten the string right to the wreath because I might want to use it once Easter was over.  The great thing about this wreath is it could be seasonal, just by changing the decorations to suit the season.


Drilling 2 holes
 Found a couple decorations around the house.  I admit it needs a little bit more on it though.  The nest needs some eggs, and a nice fabric flower or two would jazz it up a bit.  So I'm going to see what else I can find in my travels to Michaels tomorrow.
New Life

Little Birdie
Well there ya have it, that's my take on this Easter Wreath.  Hope everyone has a Very Happy Easter with your families.
By the time Easter arrived I had time to do a little more decorating, and did find some decorative eggs for the wreath & make these Jute Easter eggs for this Milk glass dish.
Jute Easter Eggs
After the finishing touches

Wednesday, 28 March 2012

Burlap & Buttons

Well it has been over a month since my last post.  I had experienced problems with my photo and blogging computer, and had to exchange everything over to another computer to be able to carry on.  So finally I'm hoping things will be back to normal...somewhat.
Since my last post I am excited to say that I was chosen to attend as a Vendor, in the Scout Handmade Vintage Market in Abbotsford, BC.  I've done Craft fairs before but this will the first Vintage Market that I've been a Vendor at.  So I've been busy out in the garage with Sanding and Painting, and sorting what I have purchased for the Market as of yet.  One of the items that I will be making for the Market are these Fabric Flowers.  Made with Burlap, Fun Fabric & a button.  I had seen many Tutorials on Pinterest but decided to try my own fast way.

I've also been impressed with how far away my Blog has been received.  My Blog has reached into homes in Japan, Germany, Australia, UK, USA, Russia, Greece and many other countries.  Loving the response, & that people are reading my blog.  I am however wishing for more actual followers.  So if you have stopped by to read my Blog I would love if you took the time to become a follower as well!!!

Sunday, 19 February 2012

Gift wrap with Vintage Flair.

Well we just celebrated my BFF's birthday & she also shares my love for all things Vintage.  So I just had to also gift wrap the Vintage Laundry sign I made her with some Vintage Flair.
Old Book Page Birthday Card

"Your Birthday is in the Bag"

Silver Spoon Embellish

The Spoons I found to go on top of her gift had a relevance, to a city we both love & she used to live there.  Victoria, British Columbia.  I thought she would love them to make a ring out of them, or use them in her plants to stir up dirt.

Tuesday, 31 January 2012

Wool Vest goes Decorative.

Before
I have some beautiful Wool and Acrylic sweaters from my grandparents that I couldn't part with, and wanting to make Pillows and other Decorative things from them.  So one of my first projects was this Pure Virgin Wool Sweater Vest gone Decorative Pillow.
Blending with the decor

The Crocheted flowers
The first pictures shows what the Vest looked like Before.  If you look closely you can see a slight line where I cut across the Vest, to use what I needed for the pillow.  The vest being shaped like a body, tapered on the sides so I machine stitched a straight line with wrong sides facing of the vest.  Did the buttons up and sewed a seam following along the right side seam of the buttons.  Then sewed the bottom and part of the top, leaving room to stuff the pillow once turning it back to right side out.  Stuffed it and hand stitched the opening.  Hand sewed on my Mother's Crocheted flowers and Voila!!  This project took maybe under 2 hours from start to finish.  Of course the Crocheted flowers would take much longer if doing those yourself.  My Mother taught me how to Crochet a few weeks ago so eventually I'll be able to do them myself....hopefully.

Friday, 20 January 2012

Ice Cream Birthday Party

Well I finally have had a chance to sit down and Blog tonight.  I've had lots to Blog about just not the time to do it!  With New Year's resolutions one of them was to get to bed earlier, and that had drastically cut into my Blogging time.  So might have to re-think that one.  ;)

My turning 7 year old wanted a Vintage Style Ice cream party.  (Girl after my own heart)  So how could I deprive her of that?  December 21st was her birthday & its such a crazy time of year already with Christmas.  I think a lot of the mom's loved the break from their children to do some Christmas shopping, because I received a lot of Thanks, that they were able to get so much done that afternoon.

Birthday Girl & her sister enjoying the party.

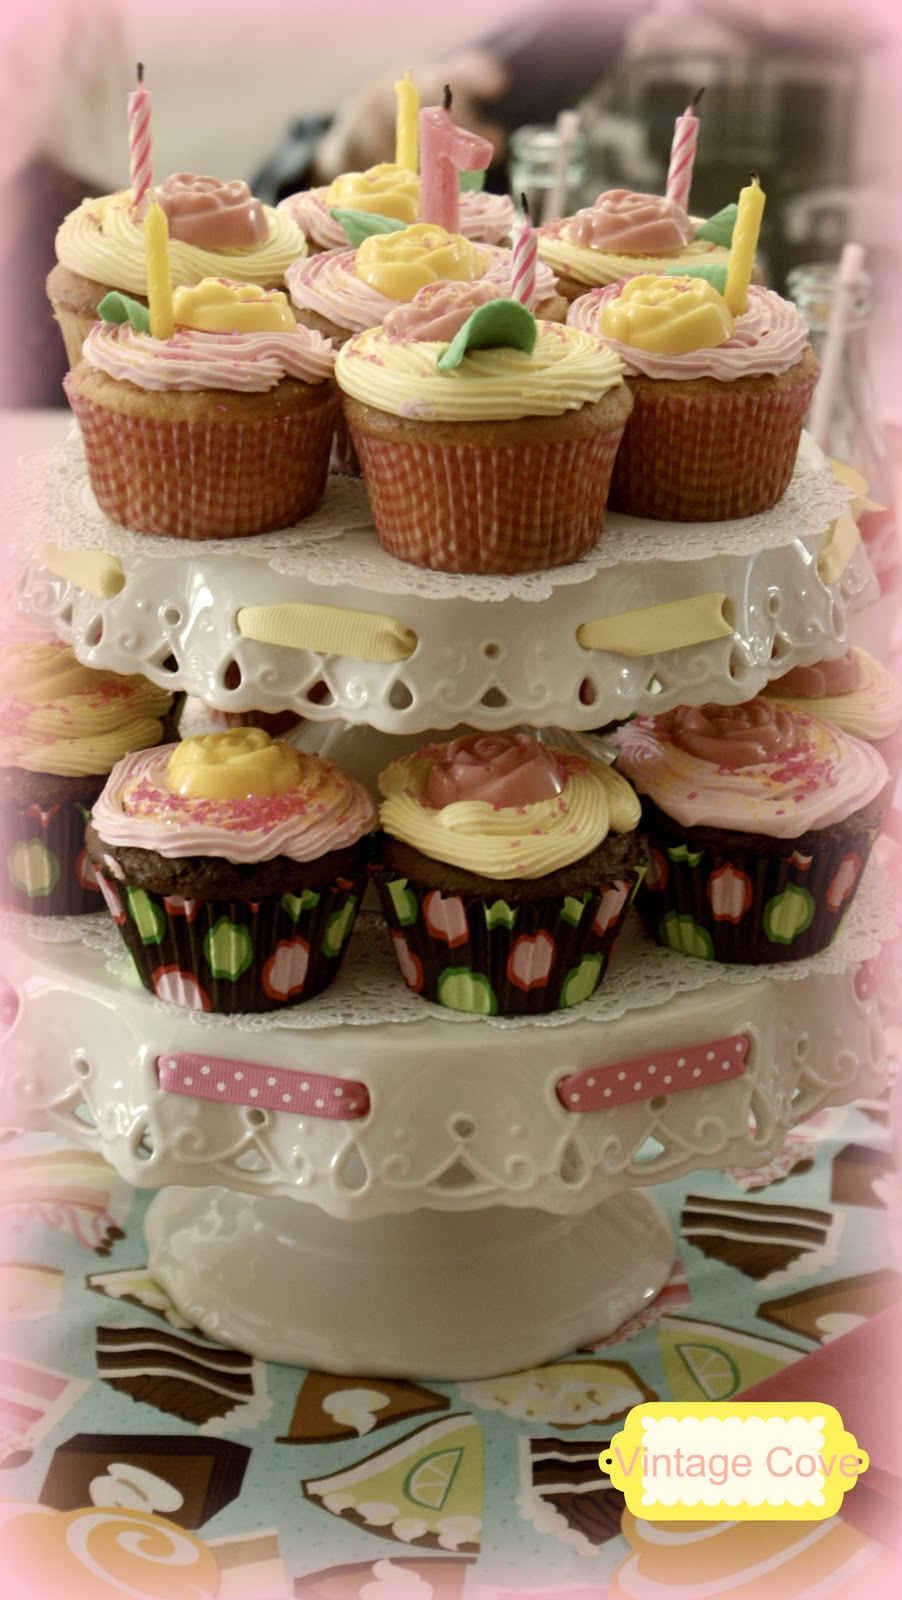
Cherry Chip, & Chocolate Cupcakes with White Chocolate Roses.
The Candy Bar.

...more candy

Pink Lemonade Crackle sign I made.

Ice Cream Sundaes.

Birthday girl enjoying her Pink Lemonade.

Friends having some fun at the table.

I even dressed up, Crinoline & all.

Games, Candy, Cupcakes, Ice Cream and Pink Lemonade in the Vintage Style Pop Bottles.  The kids loved it and had so much fun!!  So now to plan my 3 year old's Birthday, that will be turning 4 in April.